Light painting is one of the most fun things you can do with your DSLR, and it is one of my favorites. I usually like to have a small army of helpers carrying different sized flashlights to draw and outline different things. But, when bored, you can set the camera timer, grab a light, and go to town!
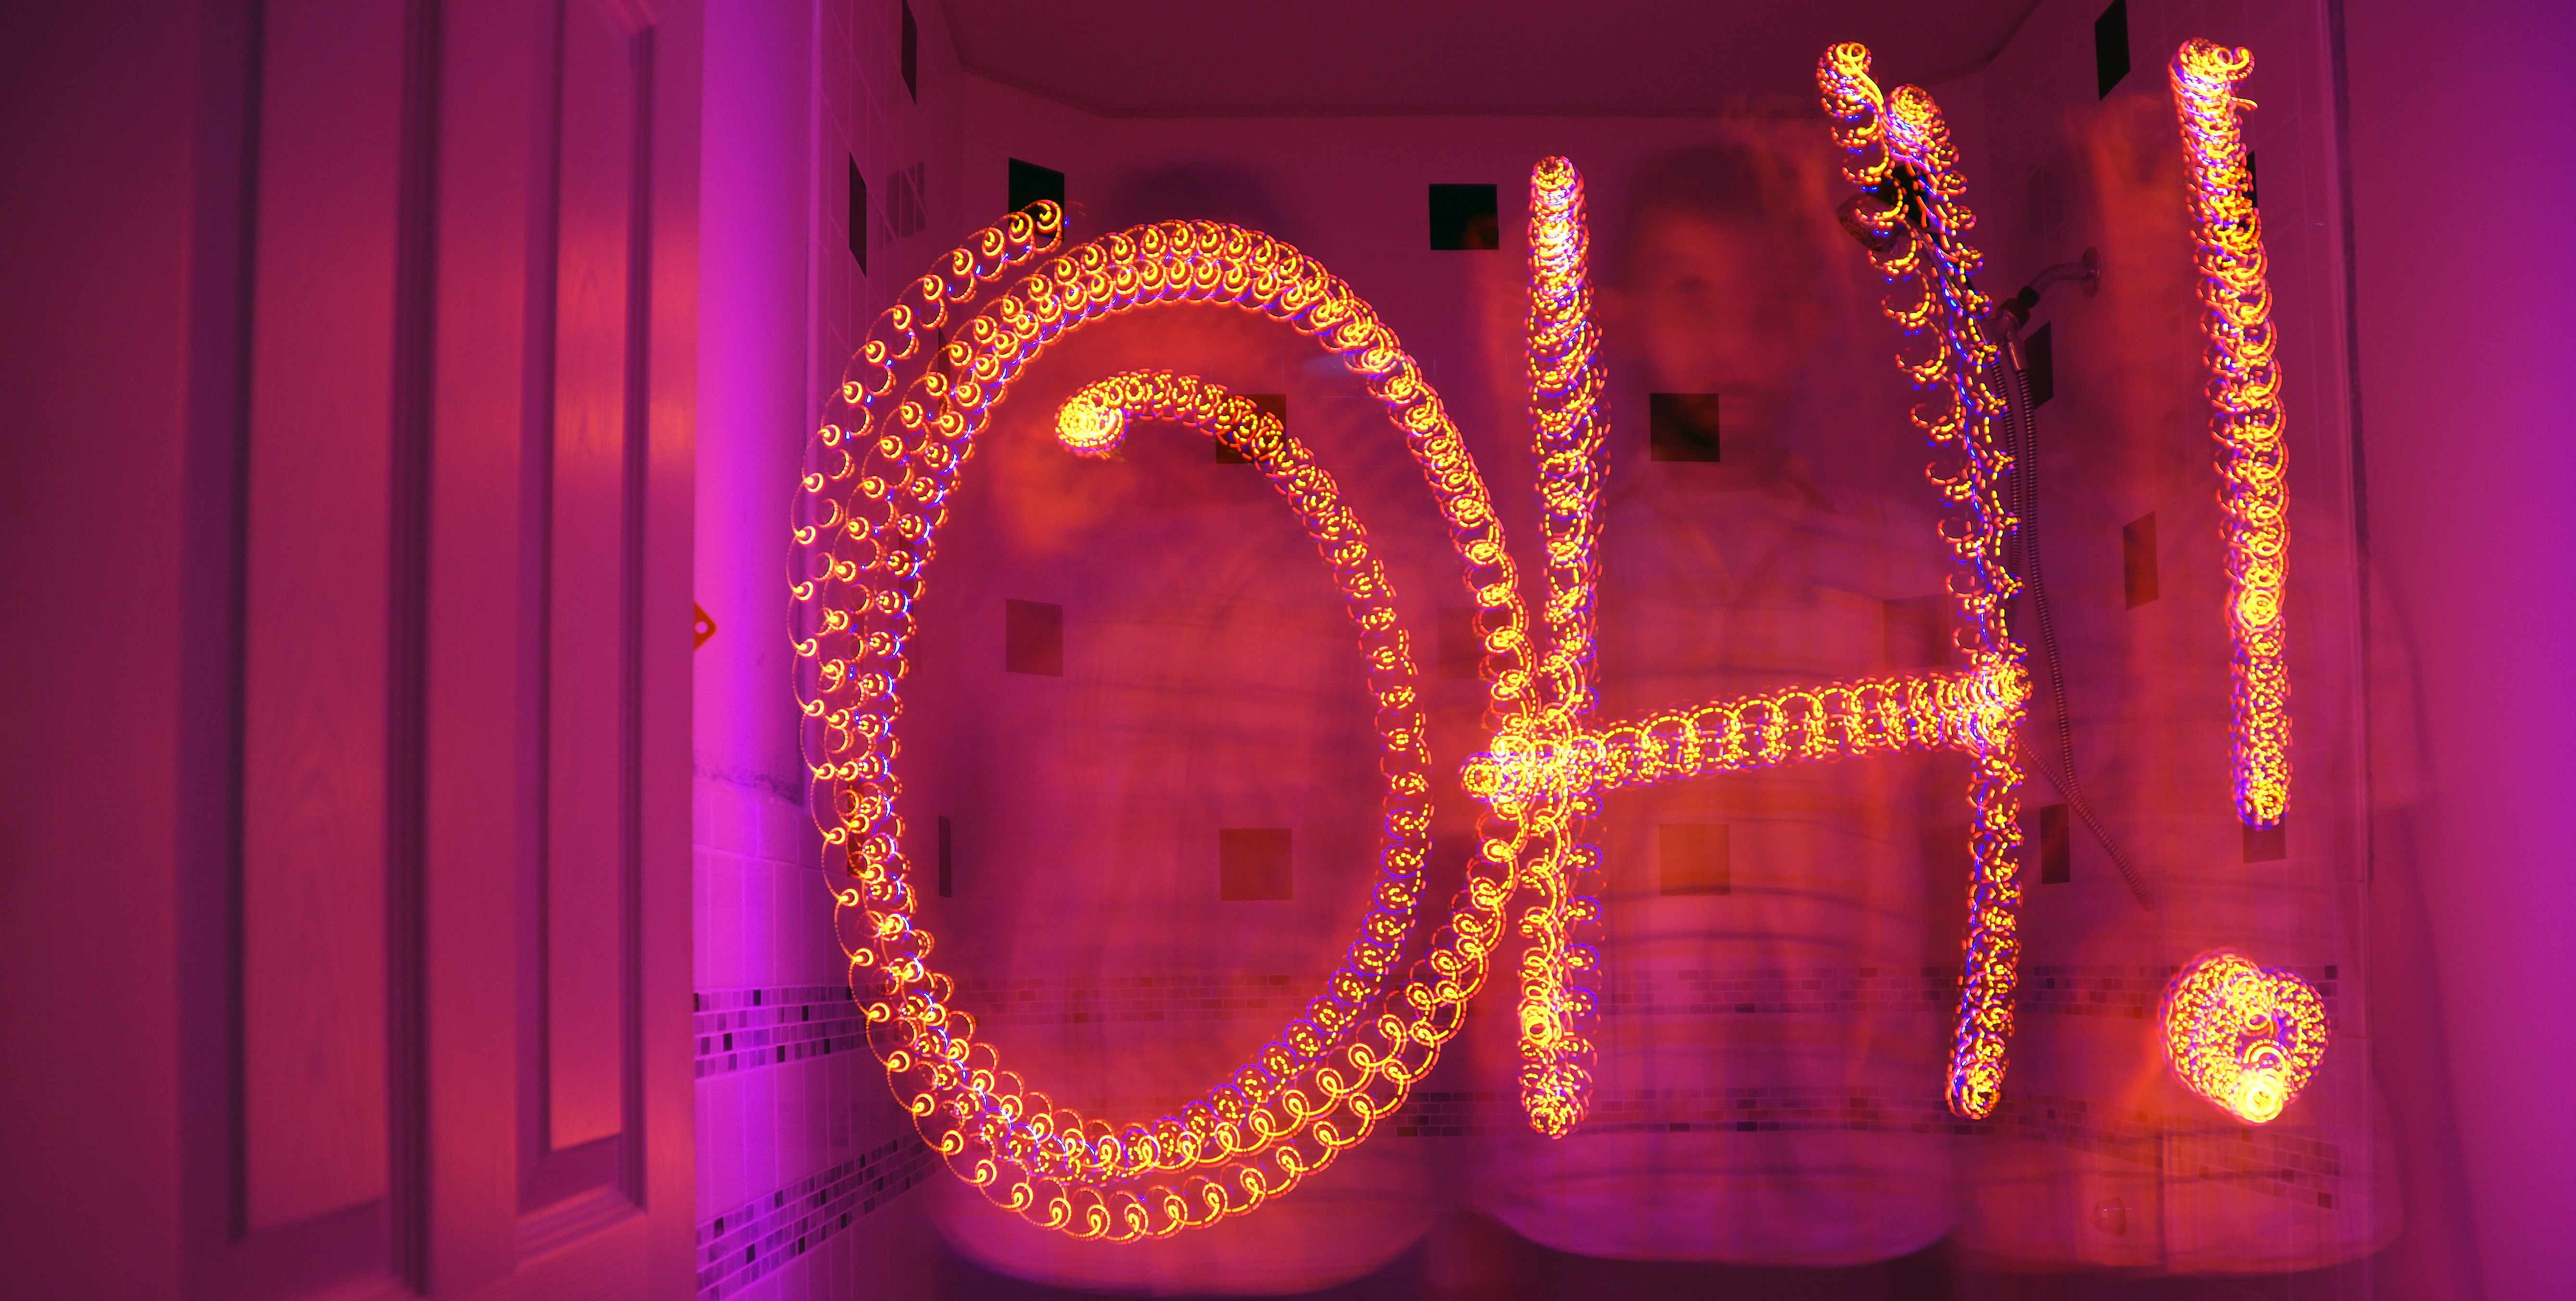
If you’ve never done light painting before, it is very easy to do. All you need is a reasonably dark space, and then you just have to set your camera up for a very long exposure, place the camera on a sturdy tripod, and then draw in mid-air! There are no real rules when light painting, but the best results come from experimentation.
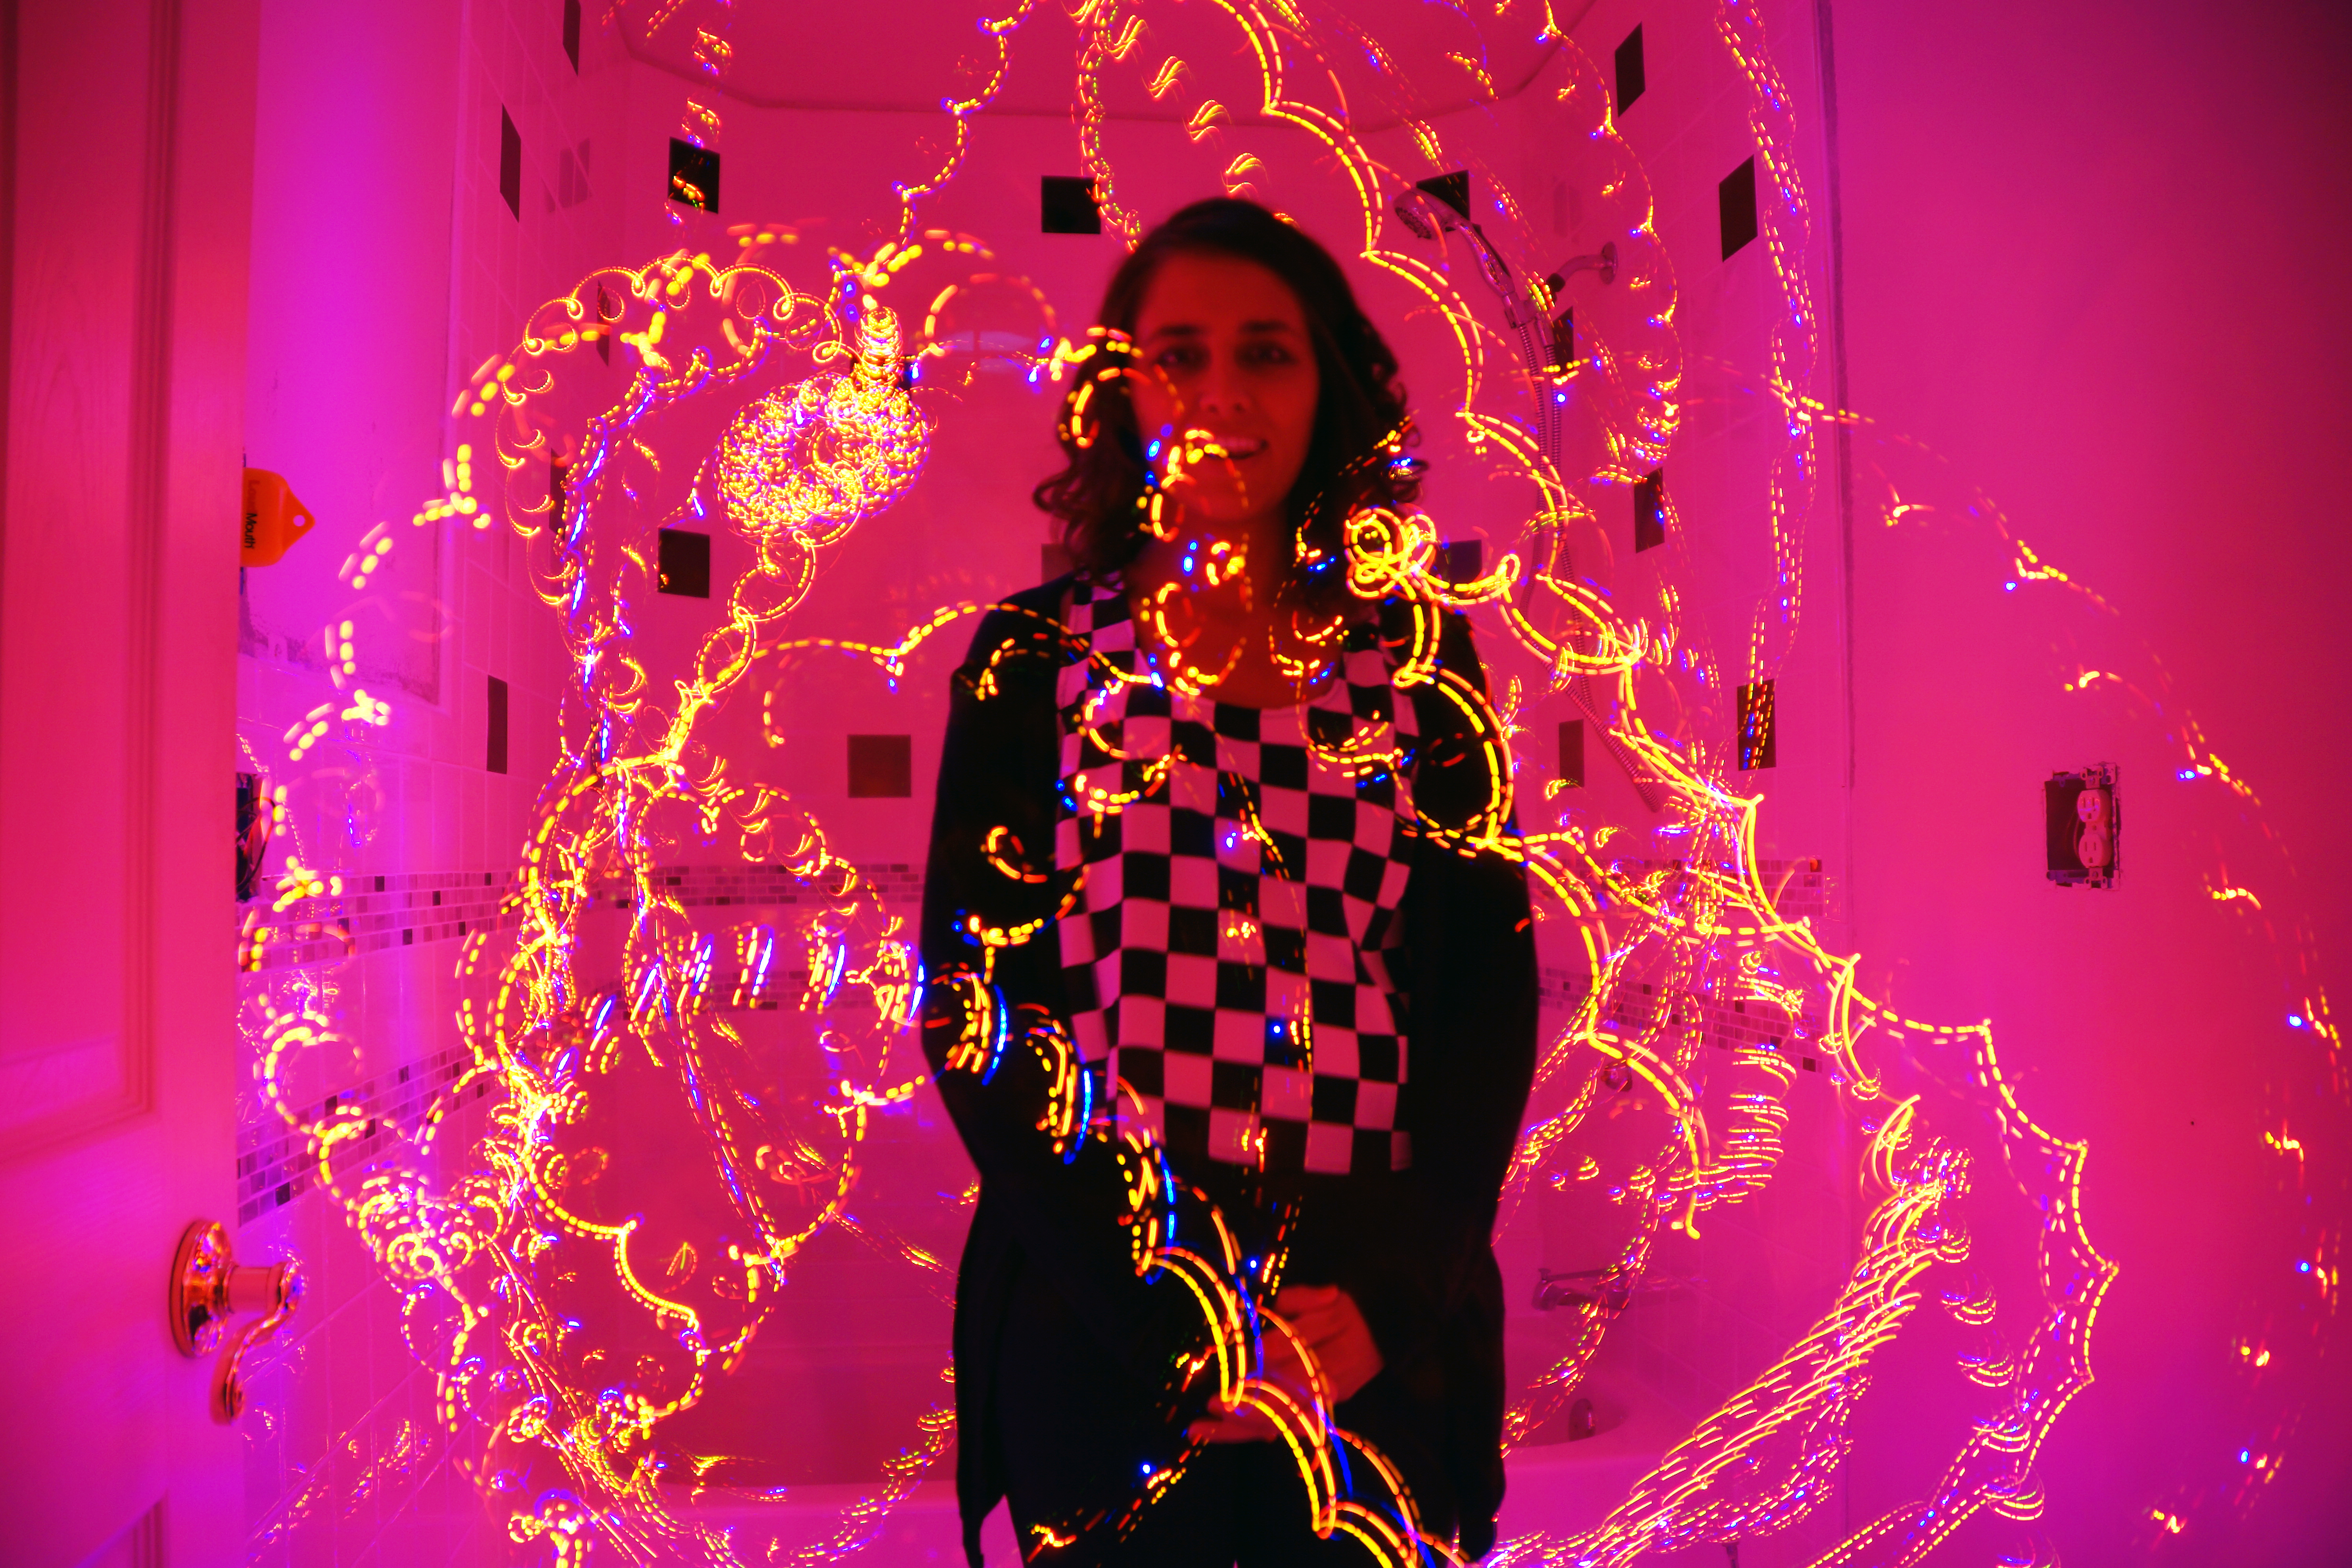
This image of my little sister was made using the light-up portion of the toy from the post about the concrete iron man head. Because my eye-sight isn’t so great, I accidentally focused on the wall behind her instead of her face. The key to this type of photo is making sure that the subject stands absolutely still.
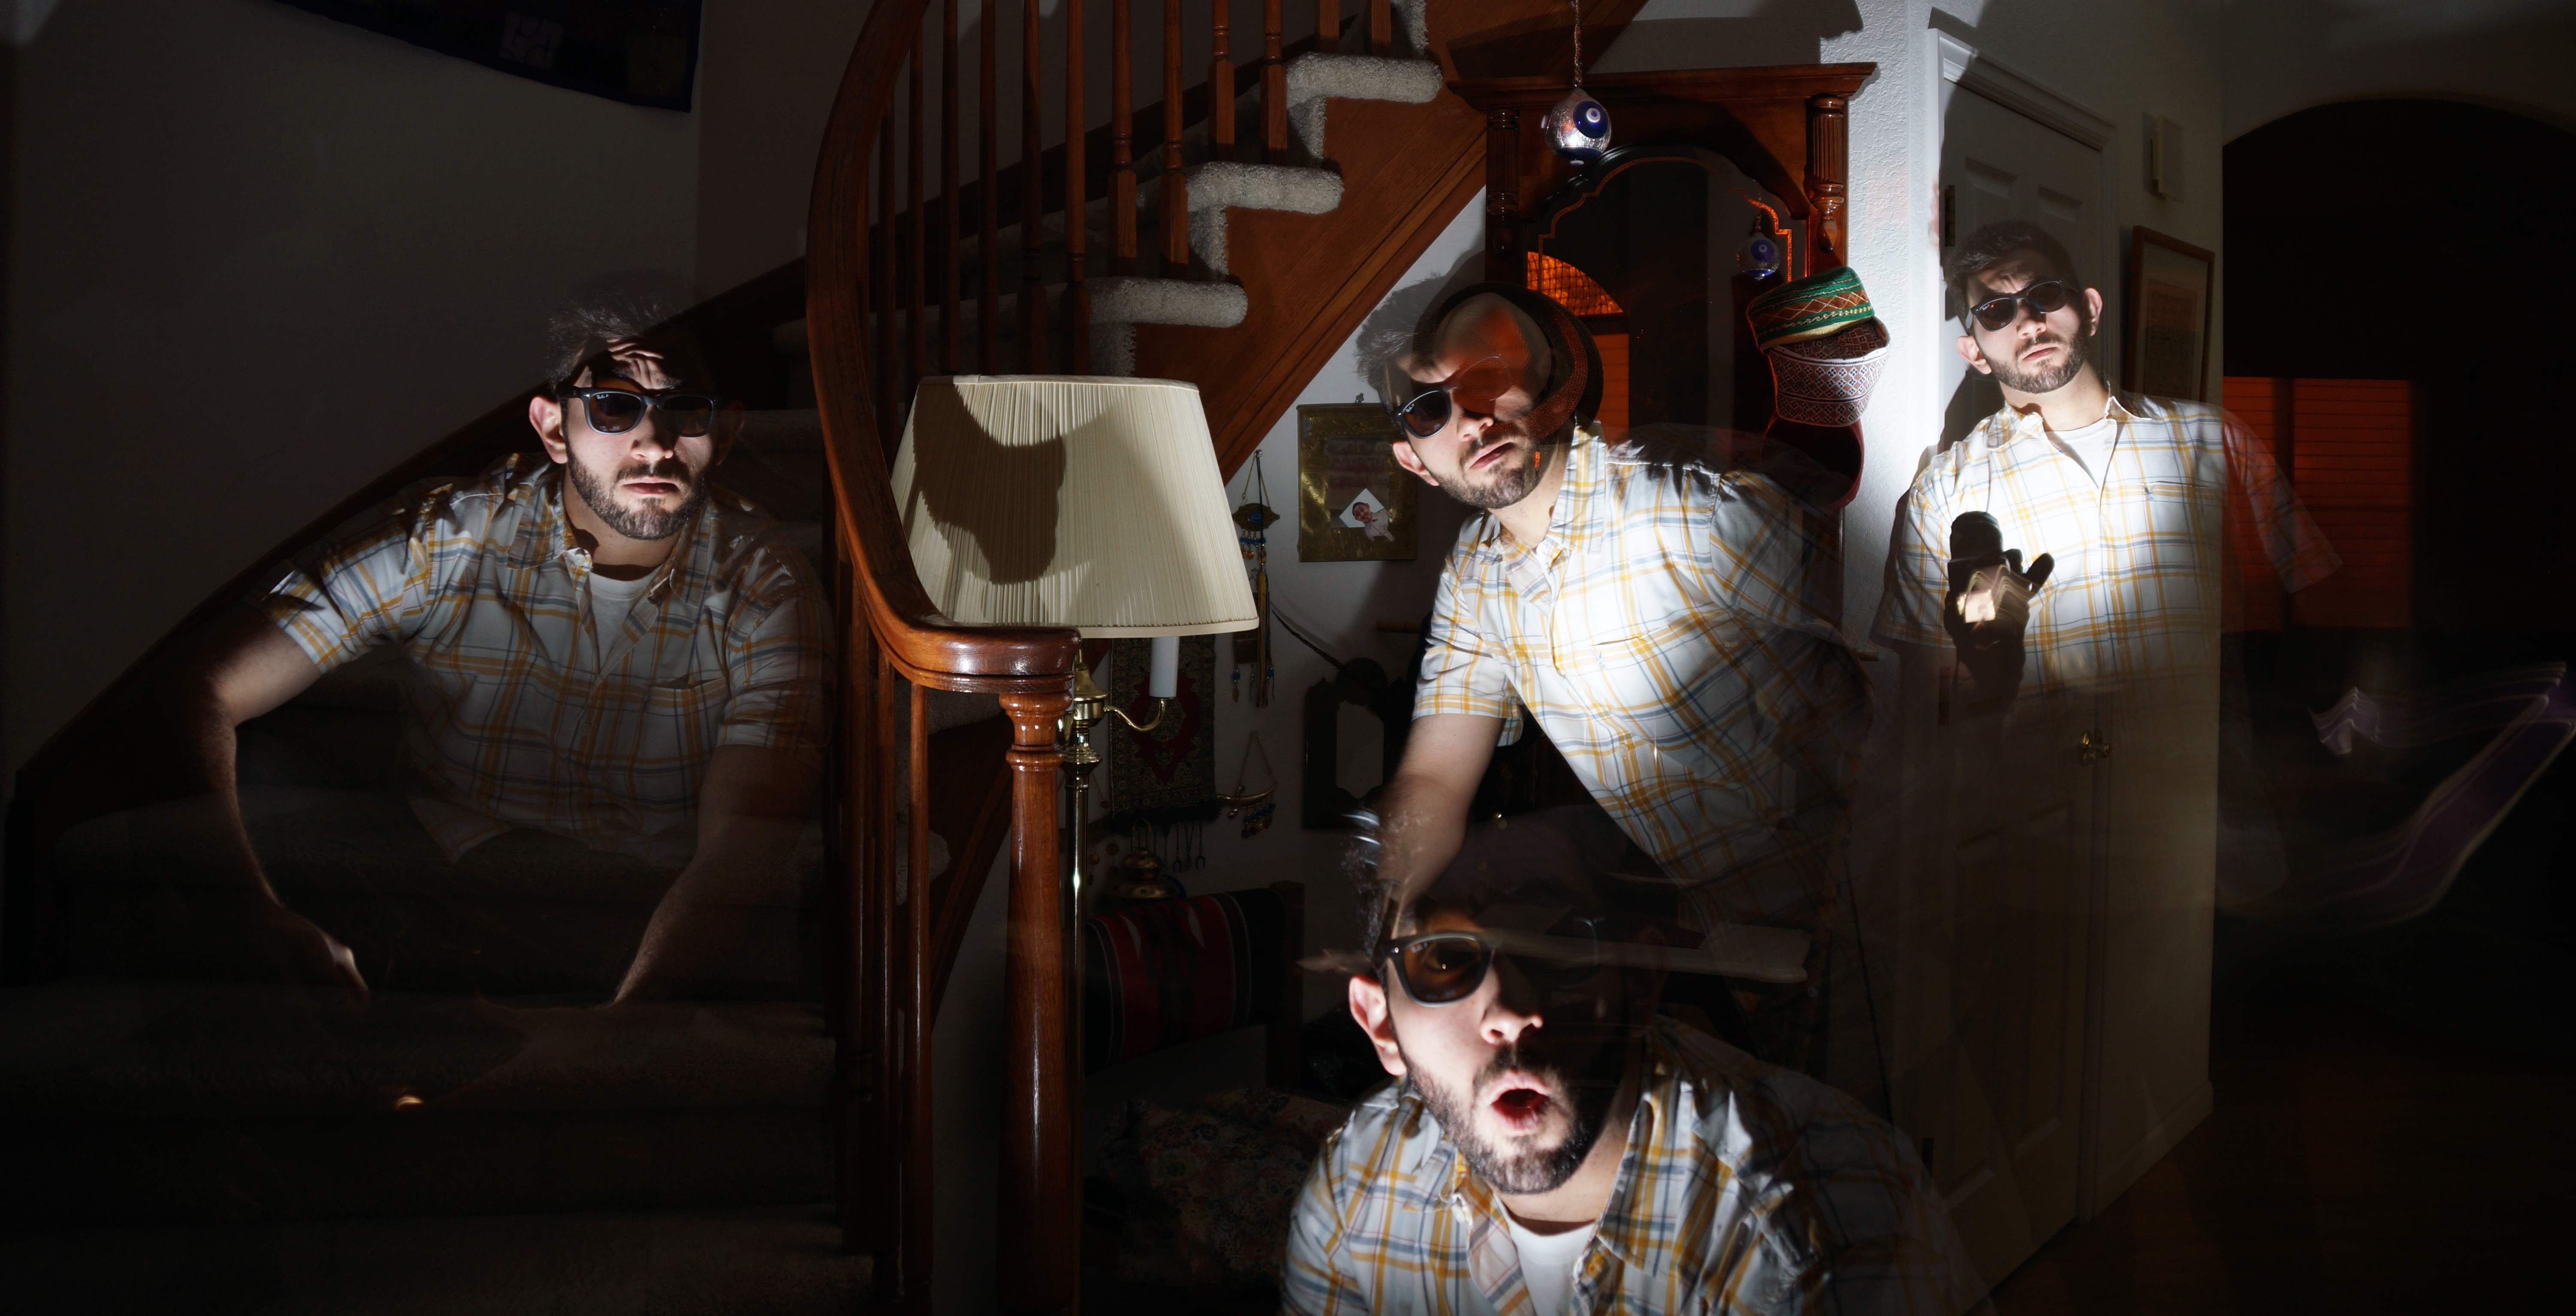
I don’t know what the technical name for this type of photo is, but I like to call it “ghosting”. Using my old DSLR, I use the flash-based focus system to essential take selfies of myself in different locations of the hall while my other DSLR is capturing the image over about 30 seconds.
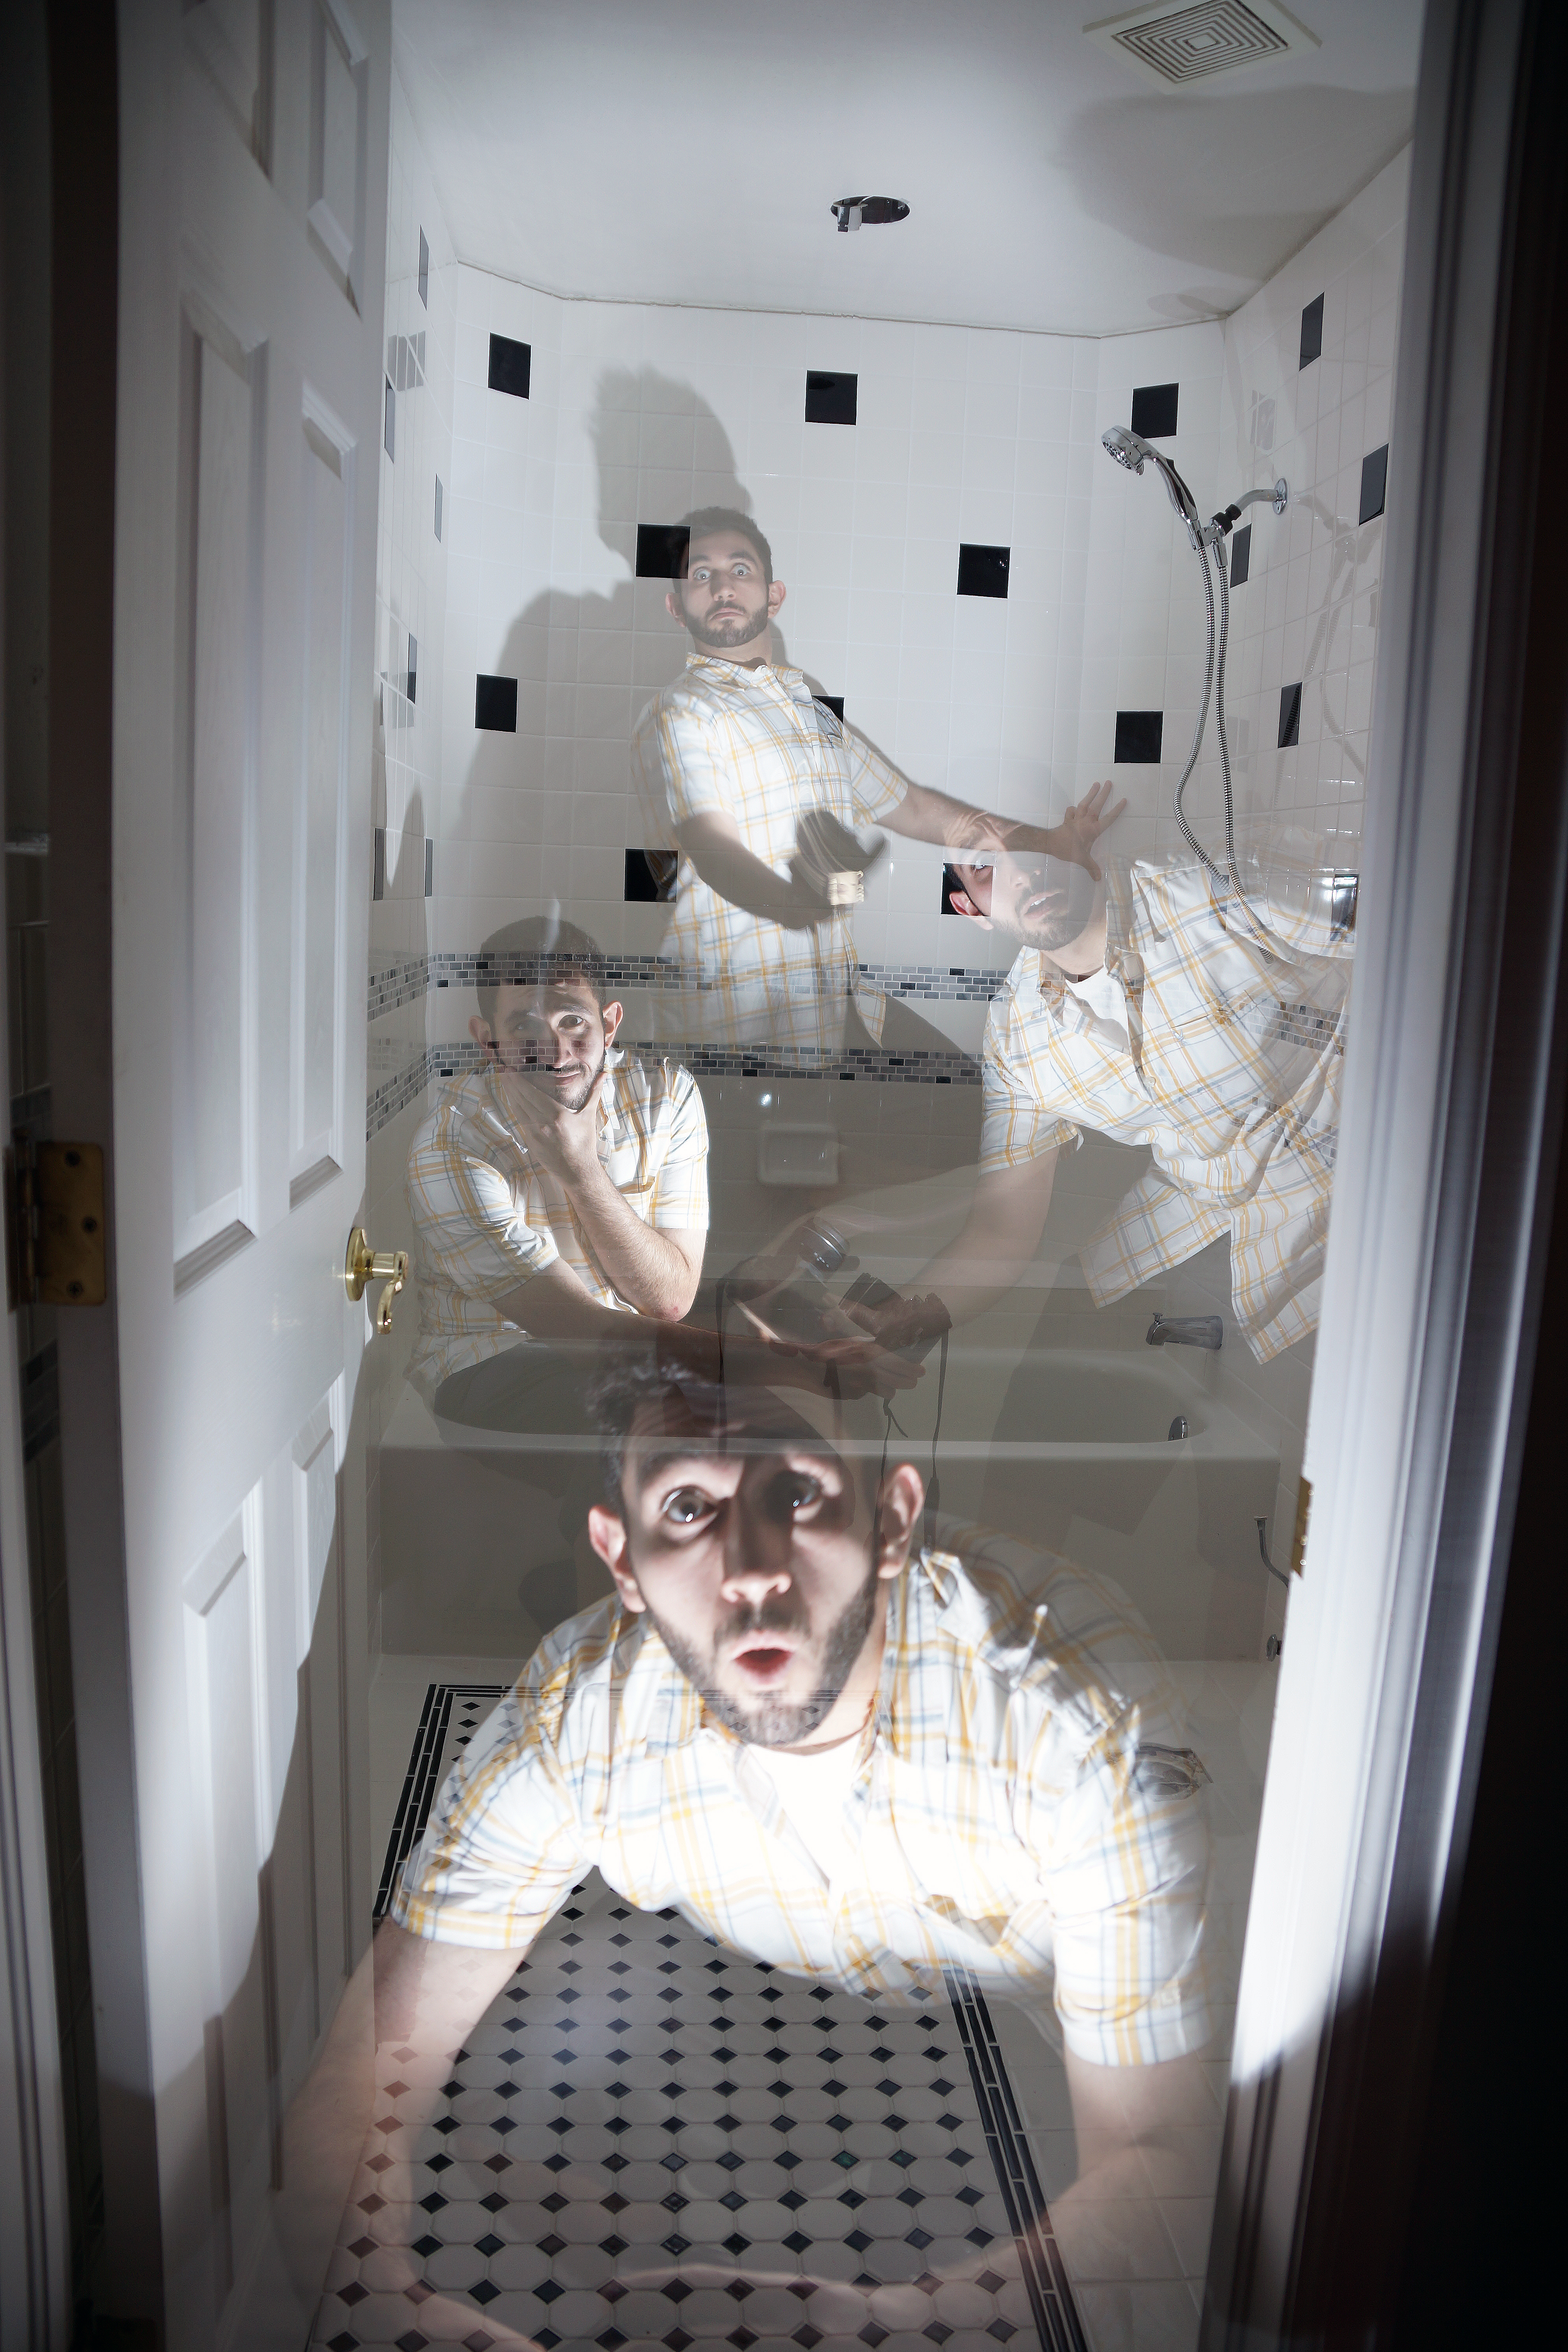
The trick to ghosting properly is to try not to overlap the locations in which you shine the flash on yourself. It does still look very cool when the multiples of the same person overlap, but it can get very messy very easily. I’d really love to do some more ghosting with a larger group of people.
Now if you’ll excuse me, I need to call the Ghost Busters…


Leave a comment